

Best Maple Syrup Granola Recipe for Big Clusters and Rich Flavor
Making a batch of artisanal oven-toasted granola at home is an easy to make and a simple way to elevate your morning routine. This guide to the best maple syrup granola recipe helps you craft premium homemade cereal with deep maple flavor and the perfect crunch. This recipe starts from scratch with good-for-you ingredients for better nutrition and flavor.
You can get free cooking ebook here
This version keeps the method simple, with seven clear steps from bowl to jar. It also gets a boost from a premium maple sweetener, which gives the granola a richer look, better coating, and a more refined taste. If you enjoy maple-forward breakfast ideas, you may also like these 5-Minute Maple Syrup Oats Recipe for Better Busy Mornings and Maple Syrup Oatmeal Porridge.
Key takeaways for the best maple syrup granola recipes
If you're skimming for the good stuff, these points matter most. This guide to making artisanal oat clusters starts with the right granola ingredients, a low oven, and enough patience to let the pan cool fully. For more breakfast inspiration, see our Maple Syrup Recipes for March Mornings and our Easy Maple Syrup Pancake Recipe.
- Old fashioned oats are essential for granola clusters and give the best texture. They hold up well in the oven.
- Low heat, around 300°F on a rimmed sheet, helps the mixture dry out slowly and turn crisp.
- Nuts such as almonds and seeds like pumpkin or sunflower add natural crunch, while coconut oil helps with browning and cluster formation.
- fruit should go in after baking, so it stays tender instead of hard or burnt.
- Cooling the pan is what turns loose oats into chunky, satisfying bites.
- Premium products like MapleLixir create a richer taste and a more polished finish.
If you want bakery-style chunks, press the mixture down before baking and leave it alone while it cools.
What you need before you start
This recipe is practical, fast, and flexible. It makes about 8 cups, takes roughly 15 minutes to prep, and bakes in about 40 to 45 minutes.
The base formula is easy to remember. You need old fashioned oats, chopped nuts, raw nuts and seeds, coconut oil, maple sweetener, vanilla extract, ground cinnamon, and sea salt. Then you fold in fruit after the pan cools.
If you need swaps, they're simple. Use certified gluten-free oats for gluten free granola. Choose seeds instead of nuts for a nut-free version. For vegan granola, stick with coconut oil and a maple-based sweetener.
For more on ingredient quality and sweetener choice, you can also read Best Maple Syrup and Maple Syrup Nutrition: 7 Practical Facts.
The homemade granola ingredients lineup
For homemade granola use 4 cups old fashioned oats as the base. They stay hearty and crisp, while quick oats can turn dusty and steel-cut oats stay too hard.
Add 1 cup chopped nuts such as pecans for bite, plus 1/2 cup pumpkin or sunflower seeds for extra crunch. A small handful of unsweetened shredded coconut is optional, though it adds great toasted flavor.
For the wet mix, use 1/2 cup MapleLixir , 1/3 cup melted coconut oil, 1 teaspoon vanilla extract, 1 teaspoon ground cinnamon, and 3/4 teaspoon sea salt. Each ingredient has a job. The sweetener coats, the oil helps brown, and the vanilla extract and sea salt round out the maple.
After baking, stir in 3/4 cup dried cranberries, dried cherries, raisins, or chopped apricots. That timing matters because dried fruit burns faster than oats.
If you want more maple breakfast ideas, try Maple Syrup Oat Bars Recipe in 30 Minutes That Feels Special or Maple Syrup Oatmeal Bread Recipe in 5 Easy Steps.
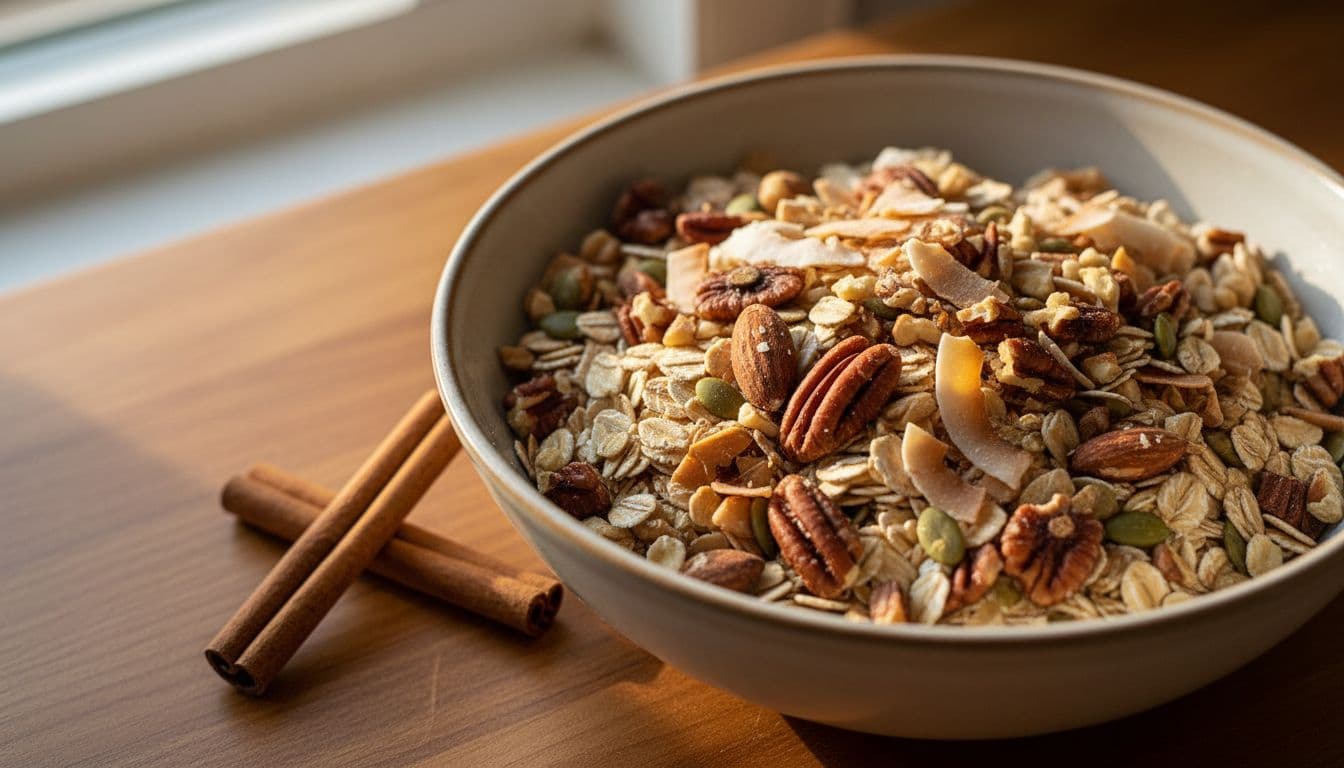 pecans, pumpkin seeds, shredded coconut on wooden counter, cinnamon sticks nearby.">
Simple tools that make the recipe easier
You don't need fancy gear. A large mixing bowl, whisk, spatula, parchment paper- and some cooling space are enough.
A rimmed baking sheet helps the granola bake evenly. If the pan is too crowded, the oats steam instead of crisp.
If you are building a maple breakfast menu, you may also like Maple Syrup Oatmeal Crisp Recipe: 3 Secrets for Crunch and Maple Brown Sugar Oatmeal in 10 Minutes or Less.
Why MapleLixir gives this granola a premium look and taste
The best maple syrup granola recipe gets even better when the sweetener has more body and flavor. MapleLixir is a small-batch luxury maple product made by bees fed pure Canadian maple syrup from Québec. The result is spoonable, smooth, and rich, with a honey-maple depth that feels more refined than thin syrup.
That texture matters in granola. Because MapleLixir is thicker, it clings to oats, nuts, and seeds more evenly. You get glossy clusters of clumpy granola, stronger maple taste, and a finish that looks at home in a gift jar or on a brunch board.
Its black and gold presentation also adds to the gourmet feel. If you're serving granola at an upscale breakfast, packaging matters almost as much as flavor. To learn more about the brand behind it, visit Our Story or browse the Maplelixir collection.
What makes MapleLixir different from regular maple syrup
Pure maple syrup pours fast, while honey can vary in thickness but lacks the same maple intensity. MapleLixir is thicker and more spoonable than both, so it coats the mix with less runoff on the pan and creates superior clumpy granola.
The flavor is fuller too. You still get maple first, but there's also a soft honey-like note that makes the granola taste more layered and less flat. This unique profile from bees fed pure maple syrup sets it apart.
If you want to compare sweeteners, see Maple Syrup Elixir vs Honey and Maple Syrup Elixir vs. Honey: Why Maple Wins for Everyday Sweetening.
Best ways to use MapleLixir in this recipe
Whisk MapleLixir into the wet mix with coconut oil, vanilla, cinnamon, and salt. Use about 1/2 cup for a full sheet pan batch. This recipe stays naturally sweetened by these high-quality sources without making the granola tacky.
If needed, dark pure maple syrup works well. Still, MapleLixir gives the most premium finish, both in texture and appearance.
For more ideas, explore Maple Syrup Elixir: What “Beehive Elixir” Means or read How Maplelixir Is Made.
How to make the best maple syrup granola recipe in 7 simple steps
The method is easy to follow, and each step has a purpose. Keep the oven gentle, coat the oats well, and give the pan time to cool.
Steps 1 through 3, set up the pan, mix the dry ingredients, whisk the maple coating
Start with a 300°F oven. That lower heat helps the granola dry out slowly, which means better crunch and less risk of burnt edges.
- Preheat the oven to 300°F and line a rimmed baking sheet with parchment paper.
- In a large mixing bowl, mix the rolled oats, chopped nuts , seeds like sunflower or pumpkin, and coconut if using.
- In a second bowl or measuring cup, whisk together MapleLixir, melted coconut oil, vanilla, cinnamon, and salt.
Parchment makes cleanup easy, but it also helps the clusters release cleanly. Meanwhile, mixing the wet ingredients separately gives you a more even coating later.
If you enjoy classic maple recipes, you may also want to check out Authentic Pouding Chômeur: Classic Quebec Maple Syrup Dessert and Maple Syrup Glazed Salmon.
Steps 4 and 5, combine everything and spread it for the best clusters
At this point, the best maple syrup granola recipe starts to look like a real batch. Every oat should shine a little, and no dry pockets should remain. 4. Pour the wet mixture over the dry ingredients and toss until everything is coated. 5. Spread the granola in an even layer on the pan, then press it down gently with a spatula if you want larger clusters.
Pressing matters more than most people think. A loose layer gives you loose granola. A compact layer gives you the kind of chunks people pick out first, far better than typical store-bought granola.
For more texture-focused maple recipes, see Maple Syrup Oatmeal Cookie Recipe and Maple Syrup Recipes: 3 Relaxing Afternoon Drinks for March.
Steps 6 and 7, bake until golden, then cool before adding dried fruit
This last stretch is where patience pays off. The granola may feel slightly soft when it leaves the oven, but it firms up as it cools. 6. Bake for 40 to 45 minutes, until golden brown and fragrant. Stir once around the halfway point if the edges color faster than the center. 7. Let the pan cool completely on the sheet pan, or transfer to a cooling rack once firm, to protect those big clusters. Then break the granola into clusters and stir in the dried fruit.
Don't add fruit before baking. It hardens, darkens, and pulls attention away from the maple. Cooling first also protects those big clusters you worked for.
If you like sweet and savory maple dishes, you might also enjoy Maple Syrup Recipes for Chicken, Salmon, and Pork or Glazed Carrots With Maple Syrup.
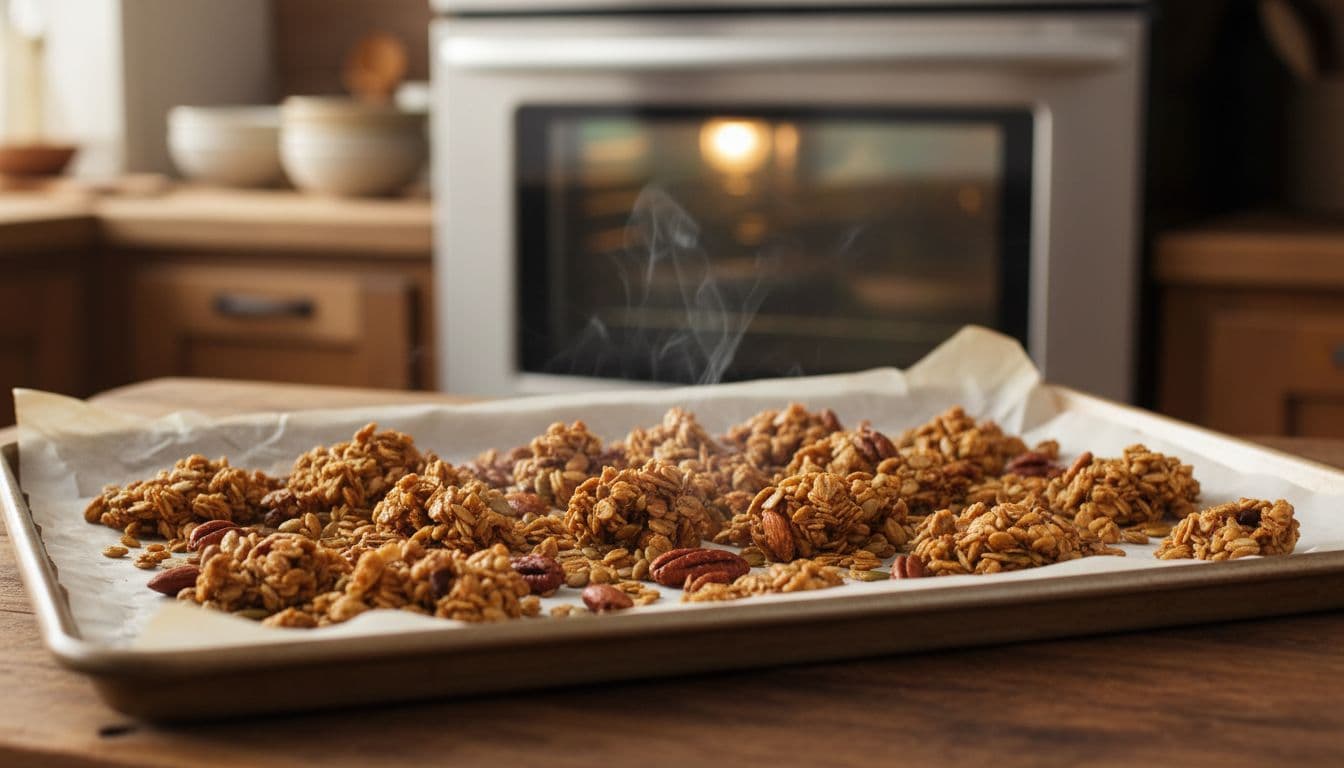 maple granola clusters with oats, a nuts, and seeds cool on parchment paper on a baking sheet, steam rising in kitchen.">
Easy flavor tips, storage, and serving ideas
Once you've made the best maple syrup granola recipe once, small adjustments can make it feel more personal. A little extra cinnamon, orange zest, or cardamom can shift the tone without changing the method.
For a richer batch, use pecans and pumpkin seeds. For a lighter one, use sliced almonds and sunflower seeds. If you want more maple impact, choose dark syrup or MapleLixir and keep the vanilla modest. You can also swap coconut oil for olive oil as a healthy alternative.
If you want more breakfast ideas for a full maple menu, read Maple Syrup Recipes for March Mornings or Maple Elixir 5 March Brunch Dishes.
Small fixes that make granola crunchier and more flavorful
If your granola seems soft, it likely needed more bake time or more cooling time. Give it another 5 to 8 minutes in the oven, then cool it fully on the parchment-lined baking sheet.
Uneven browning usually means the pan was crowded or the oven runs hot near the edges. A bigger pan helps, and a single gentle stir halfway through keeps the color more even.
Too much stirring breaks up clusters. Too much sweetener can make the mix sticky instead of crisp. Stick close to the recipe the first time, then adjust in small steps.
For more maple product context, see Maple Syrup Elixir Lab Results or Canada Maple Syrup Guide 2026.
How to store it and serve it like a gourmet breakfast
Cool the granola all the way before storing it. Any trapped warmth creates moisture, and moisture is the enemy of crunch.
Store the granola in an airtight container at room temperature for about 2 weeks. For gifting, use a clear jar with a neat ribbon, or pair it with dried fruit and a small spoon.
Serve maple granola over Greek yogurt, spoon it onto fresh fruit bowls, or scatter it across a soft cheese board with pears. It also looks great layered in parfait glasses for brunch.
If you want more serving inspiration, take a look at Maple Syrup Infused Waffles Recipes and Toppings and Maple Syrup Vinaigrette Recipes.
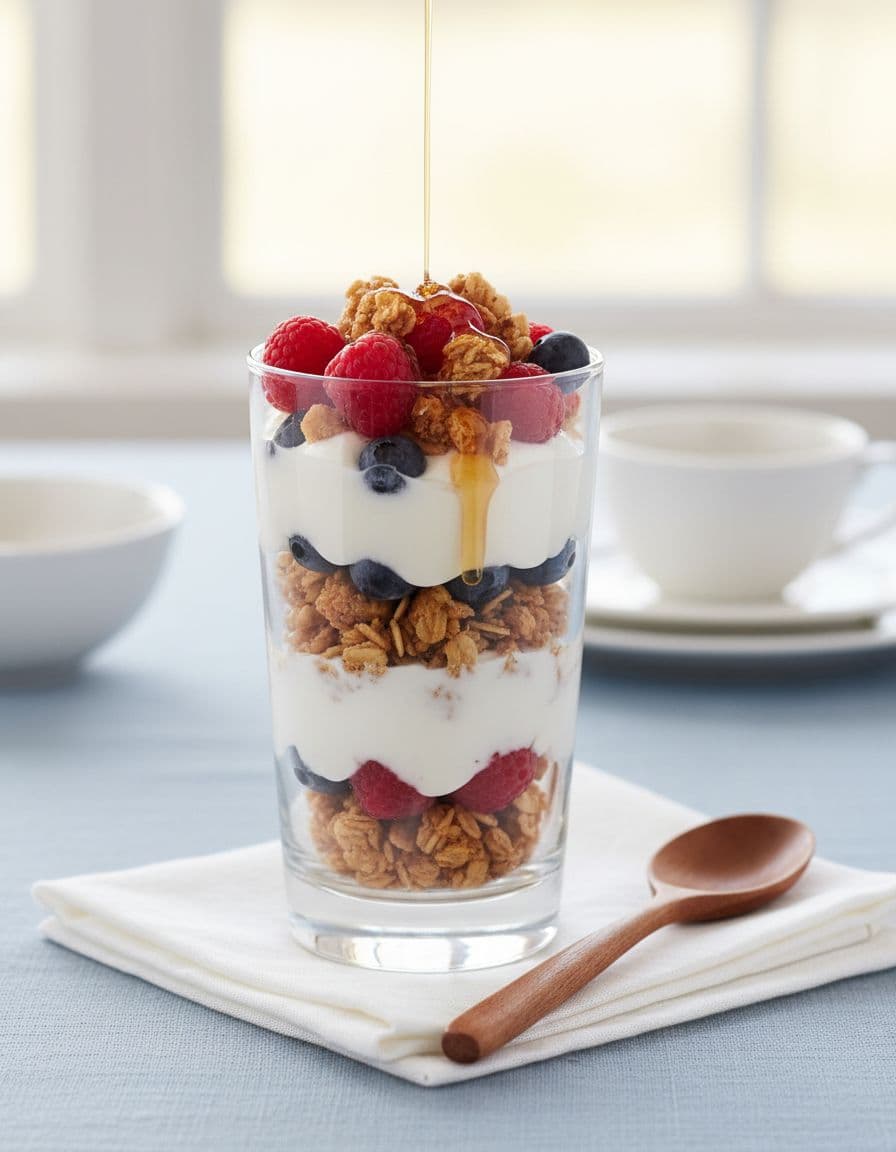 maple granola clusters, fresh berries, and maple drizzle; wooden spoon beside on brunch table in morning light.">
Frequently asked questions about maple syrup granola
Can I use quick oats or steel-cut oats instead of rolled oats?
Rolled oats are still the best choice. Quick oats bake faster and can turn powdery, while steel-cut oats stay too hard for this style of granola.
Why is my granola not clumping into clusters?
Usually, the mixture wasn't pressed down, the pan was too crowded, or the granola got stirred too much. Also, clusters form as the pan cools, so don't break it up early.
Can I make this recipe gluten-free, vegan, or nut-free?
Yes. Use certified gluten-free rolled oats for gluten-free granola. Keep the coconut oil and maple sweetener for vegan batches. For nut-free granola, swap nuts for extra seeds.
How do I keep maple granola crisp for longer?
Cool it fully before storing, then keep it in an airtight container away from humidity. If it softens after a few days, a short re-toast in a low oven can bring it back.
For more help and brand details, visit the Maplelixir FAQ or Contact us here.
Final thoughts
Making artisan granola at home is a rewarding way to improve your morning routine. With high-quality rolled oats, a gentle baking temperature, and the right technique for achieving perfect clusters, you can easily master this homemade snack. Whether you are looking for a reliable breakfast staple or a refined treat for guests, this seven-step method ensures every bite delivers deep, satisfying flavor.
For the most polished results, prepare your batch with a premium maple sweetener. Choosing a high-quality product provides a richer taste, glossier clusters, and a luxurious finish that elevates this homemade breakfast to something truly special from the very first spoonful.
For more recipes, browse the full Maplelixir blog and discover more ways to enjoy maple in everyday cooking.